Use ePrint
If ePrint is enabled for a user, the label data of a booking will be automatically transferred to a (physical) printer when the user submits a booking.
0.0 Download and Configure ePrint
-
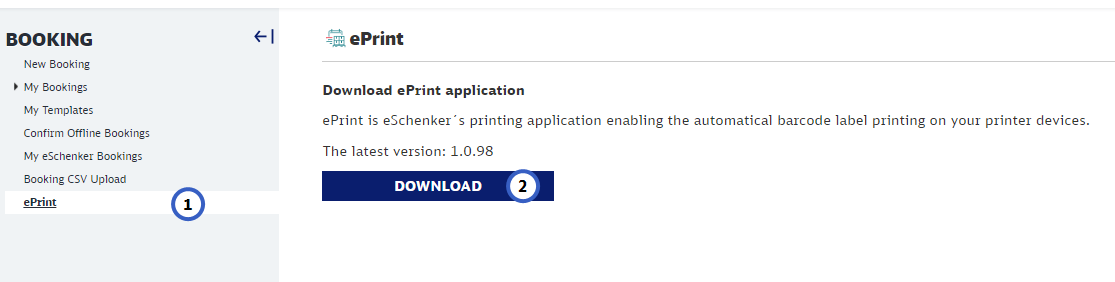
In the Booking eService, open the ePrint menu entry
-
Click the Download button
-
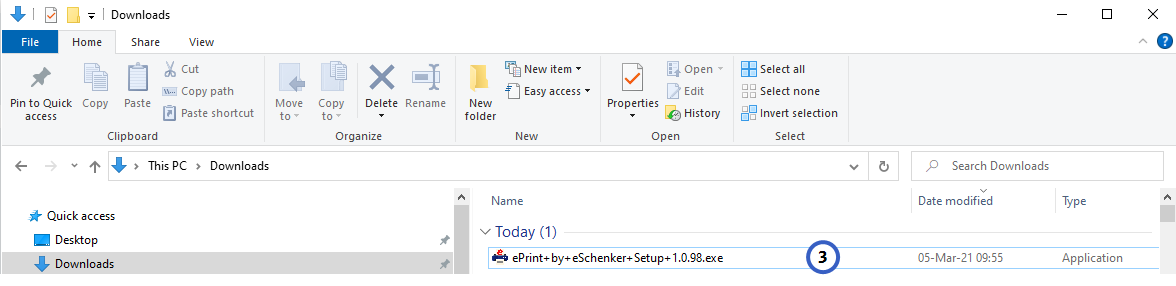
Start installation
Find the downloaded file on your PC. Double-click the installation file to start installation.
If your system warns you about an unrecognized app, click the "More Info" link and then select "Run anyway".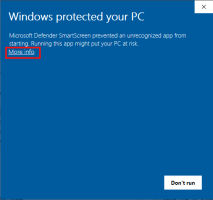

-
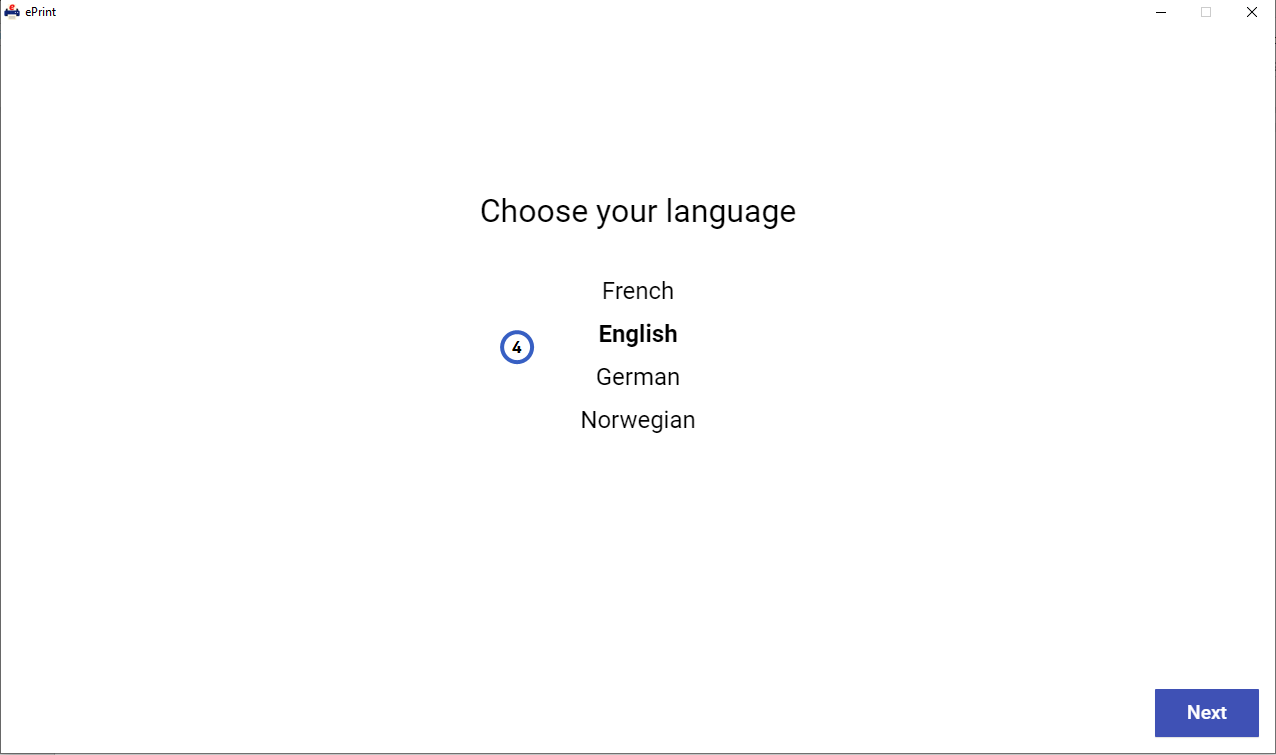
Select your language from the language menu
-
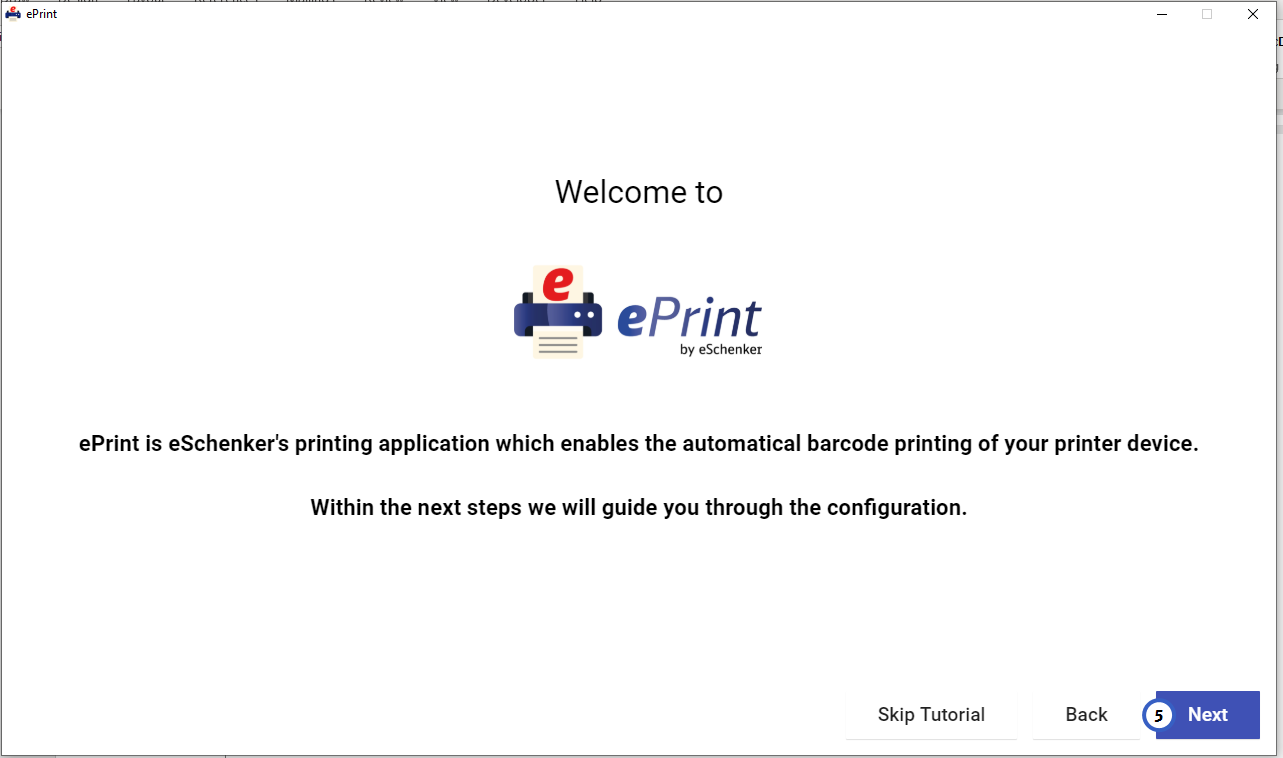
Start configuration
Click the "Next" button. This will lead you through all required configuration steps.
If you decide to skip the tutorial, you will have to configure the app later via the Settings menu.
-
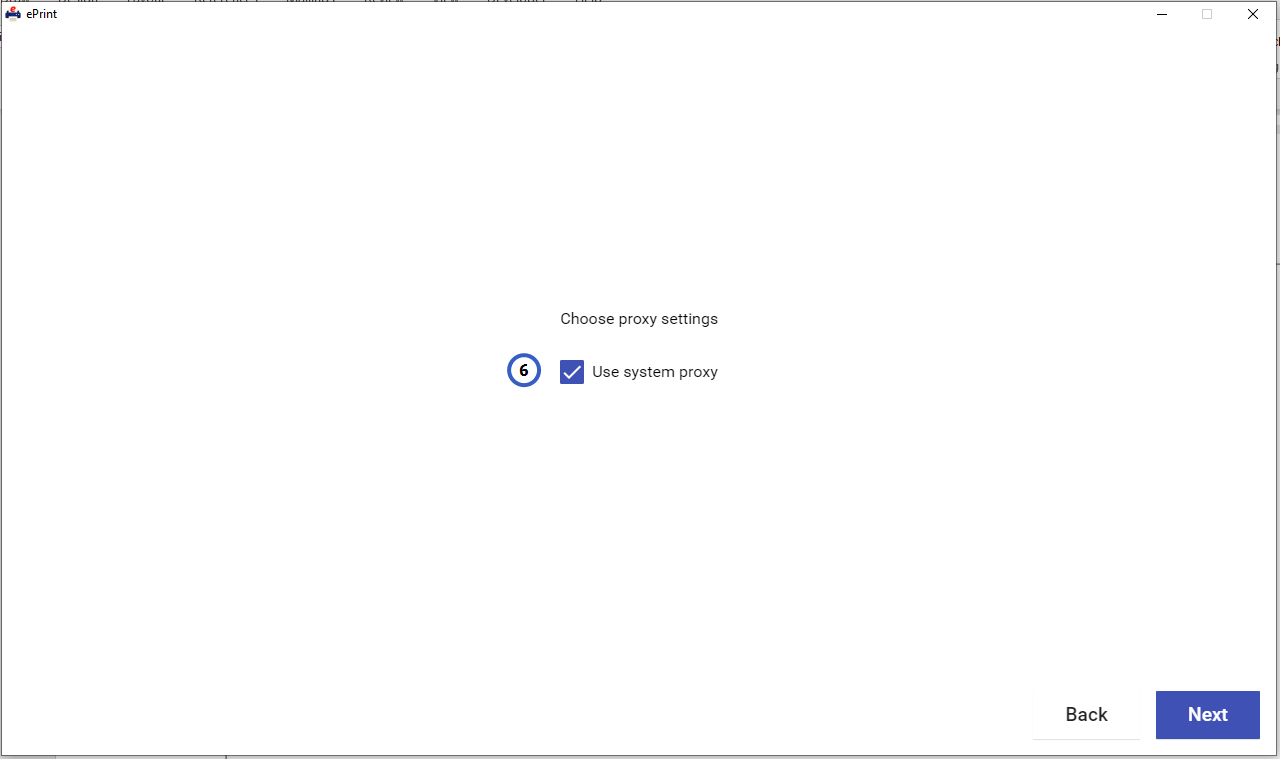
Select/Deselect Proxy use
By default the proxy settings that are configured on your PC will be used. Click "Next" to continue.
-
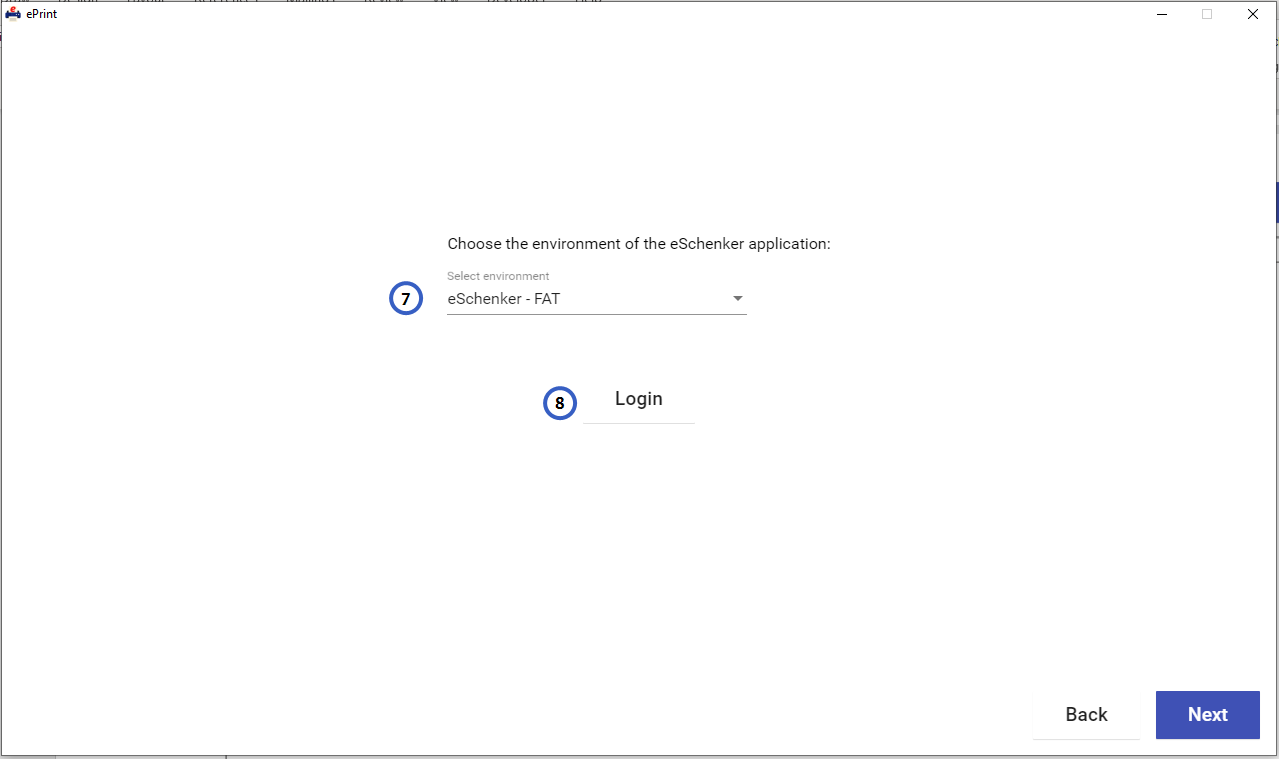
Select the eSchenker environment
You may have access to more than one eSchenker environment. Select the eSchenker environment to which you want ePrint to connect from the menu. -
Click "Login" link
-
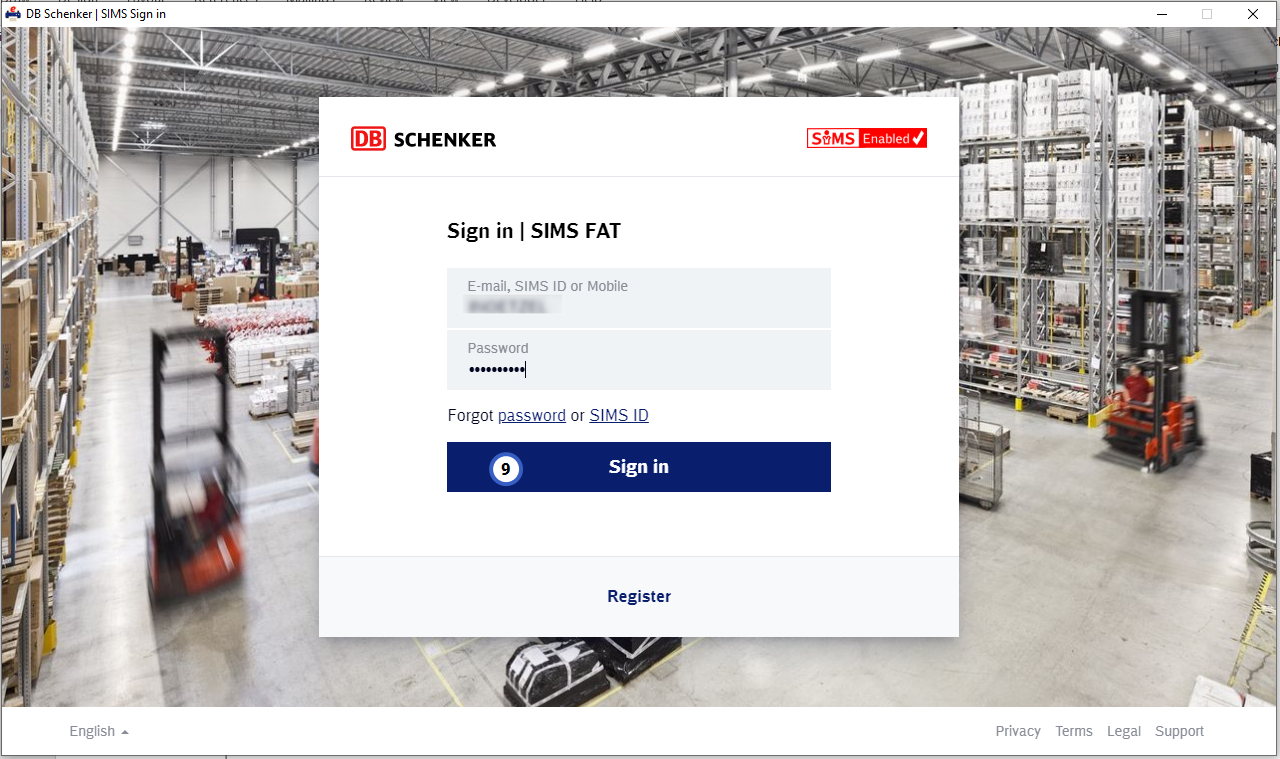
Enter your credentials
Enter your user name and password and click the "Sign In" button. Your credentials will be saved to allow ePrint to log into eSchenker. You will now be transferred back to the previous screen. Click "Next" to continue the configuration.
-
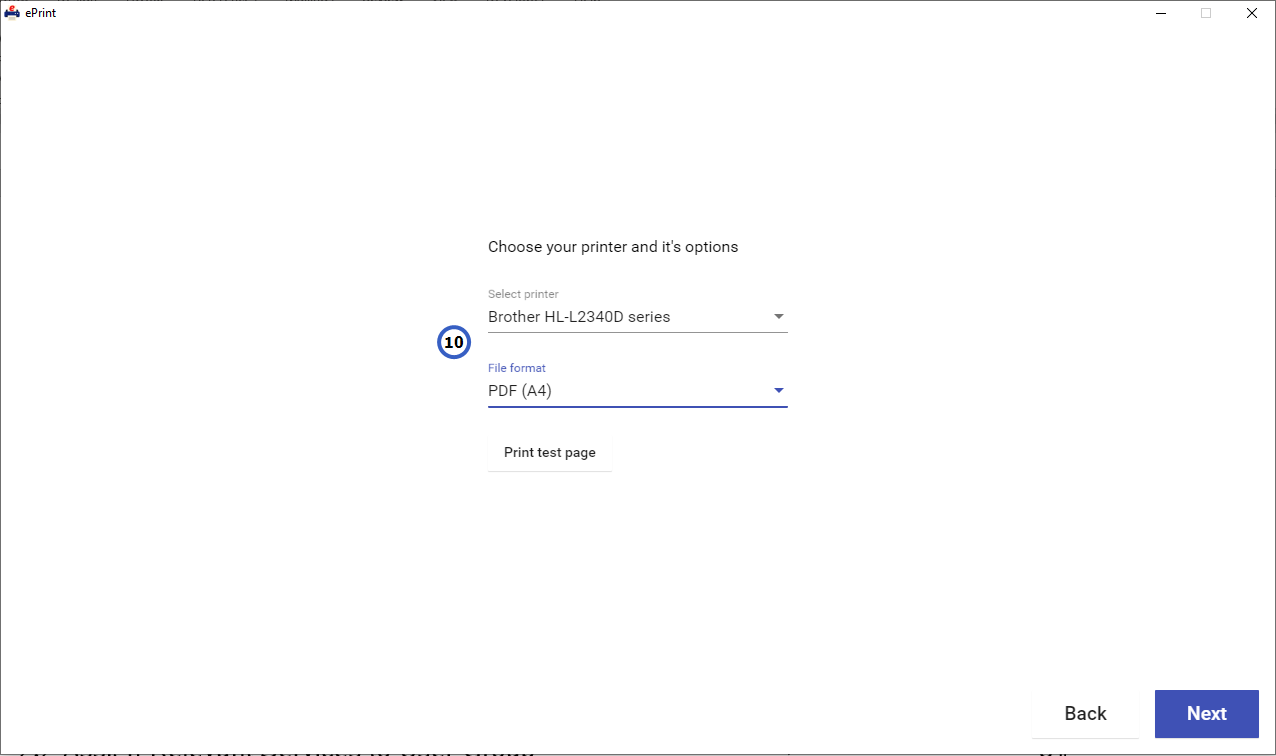
Select printer and define printing format
Select the (physical) printer where you want to print your labels. All printers that have been configured on your PC will be shown in the list. If you decide to select, for example "Print to pdf", you will see a pop-up window which allows you to save the pdf every time you submit a booking.
Select the printing format for the printer. If needed, print a test page.
Click "Next" to continue the configuration.
-
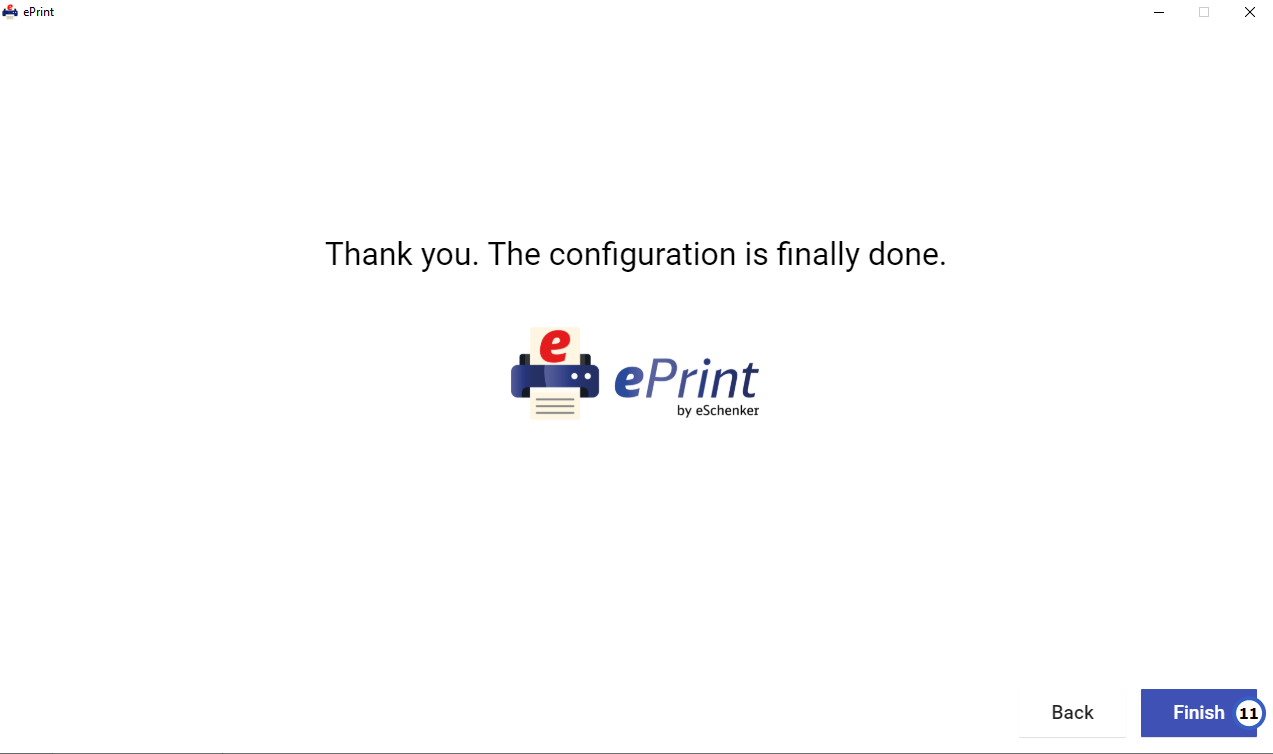
Finish installation
Click "Finish".
Consider adding the ePrint app to the start routine of your PC to ensure that label print works when you create bookings.
0.0 Change ePrint settings
-
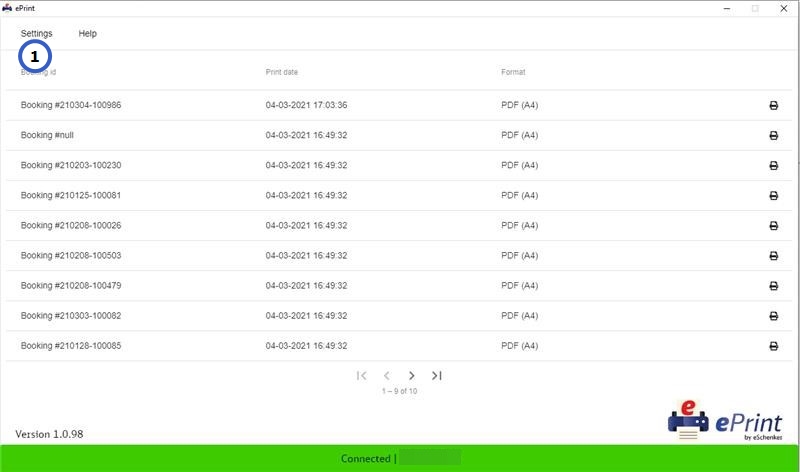
Open Settings menu
In the ePrint app click "Settings".
-
Change settings
In the sub-menus change the settings according to your needs:- Print Settings:
- Select the (physical) printer where you want to print your labels. All printers which have been configured on your PC will be shown in the list. If you decide to select, for example "Print to pdf", you will see a pop-up window which allows you to save the pdf every time you submit a booking.
Select the printing format for the printer. If needed, print a test page.
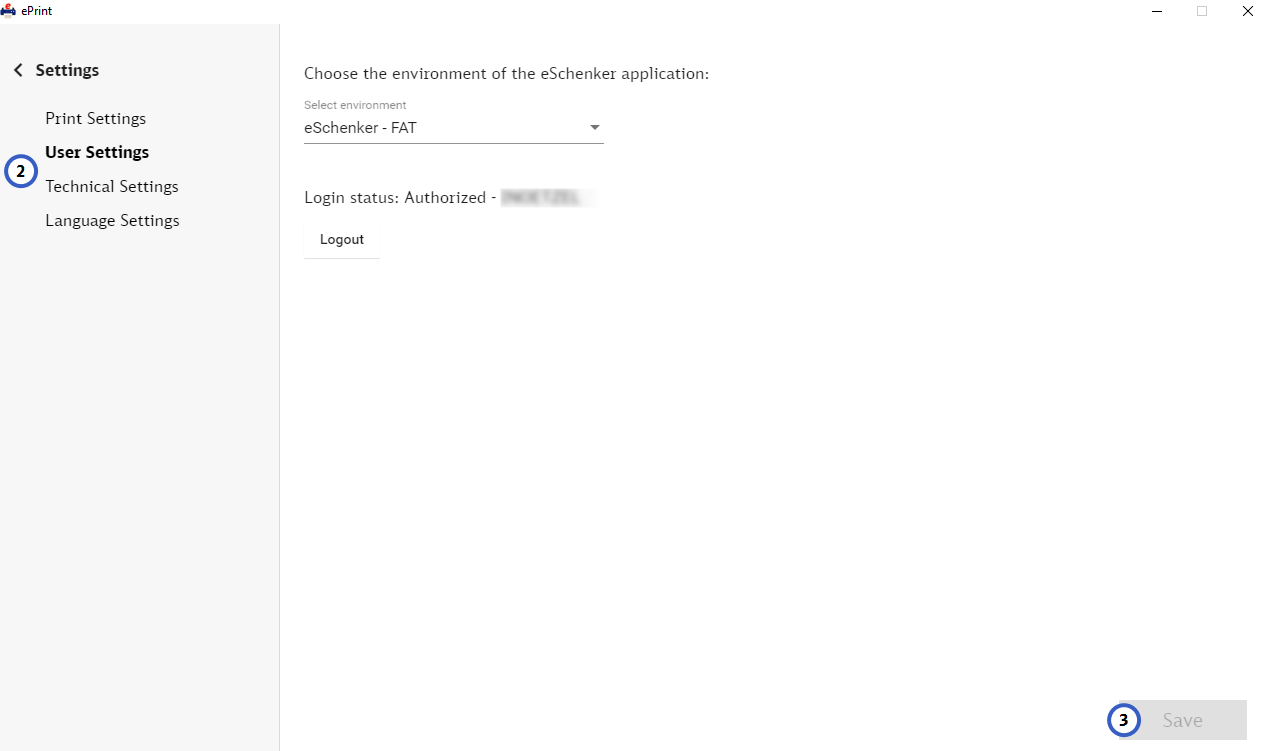
- User Settings:
- Select the eSchenker environment to which you want ePrint to connect from the menu.
- If needed, log out of the eSchenker environment, or (re-)log into the eSchenker environment.
- Technical Settings:
- Select / Deselect Proxy use.
- Language Settings:
- Select the GUI language for ePrint.
- Click the Save button
0.0 Check Connection to eSchenker
If printing from eSchenker does not work, it may be that the connection between the eSchenker environment and ePrint has been lost.

-
Check connection status
The color of the status bar shows you the connection status. If the connection to eSchenker is established it will be green, otherwise it will be yellow. -
Re-establish connection
If, for example, you have changed you password on eSchenker side, the connection to eSchenker will be lost and ePrint will not be able to reconnect. Open Settings -> User Settings. Then click the Logout button.
Click the Login to log in with your changed credentials. This should re-establish the connection: the status bar will now be green.
0.0 Re-print labels

-
Trigger re-printing
Find the booking for which you want to reprint the label in the list, then click the print button for this booking.